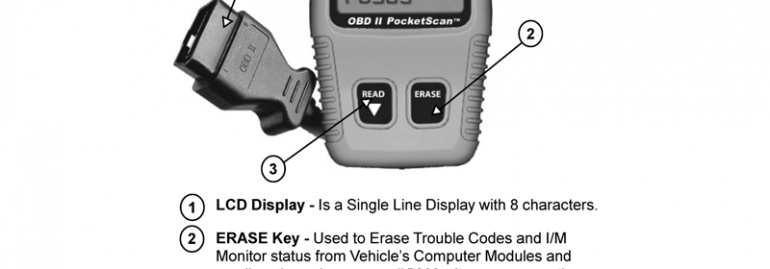
If you fail to set up an OBD2 Scan Tool before it’s use (doesn’t apply to simple code readers) – you’ll may miss out on some valuable scan tool functions.
These include enabling the power off time to be modified, turning the printer head off (if included), and allowing scans to be retained within the internal memory.
It is also helpful when it comes to online upgrades and information regarding new vehicles.
Safety comes first no matter what you are doing and setting up a OBD2 Scan tool is no different. Also remember to read the directions of the purchased scantool thoroughly – and take notice of positioning.
Wear protective clothing and eyewear: During the course of setting up an OBD2 Scan Tool, you may encounter gaseous objects, acids, and / or corrosive materials.
It is advisable to wear not only protective eyewear but also clothing that can withstand corrosive substance.
Gloves are also a good idea to have on hand.
Be Cautious and Aware of Risks: There are some risks that go with setting up an OBD2 Scan Tool. They range from fire and burns, shocks, and spills.
This is why paying attention to how your body is positioned is important; it just may keep you from being burned either by chemical or heat.
Be aware of your tools and where they are placed after use.
Because you are inserting the scanner in charged areas make sure you have the proper tools to work in that environment.
It is also important to work in a well-ventilated area to avoid exposure to gases and other hazardous materials.
Data Connectors
All OBD2 Scan tools have connectors that will plug into your cars DLC (Data Link Connector) port.
The connector has 16 pins or connection points that are usually color coded and match specific parts within your vehicle.
They are generally located under you dash board on the drivers side.
Make sure the DLC is properly connected to the various points, this is important.
The 16 pins of a Data Connector are: (for geeks only!)
- 1. Manufacturer reserved pin
- 2. The J1850
- 3. Manufacturer reserved pin
- 4. The chassis ground connector
- 5. The signal ground
- 6. The CAN high, J-2284
- 7. The k line, ISO9141-2/DIS 14230-4connector port
- 8. Manufacturer reserved pin
- 9. Manufacturer reserved pin
- 10. J1850 Bus
- 11. Manufacturer reserved port
- 12. Manufacturer reserved port
- 13. Manufacturer reserved port
- 14. CAN, J2284 PORT
- 15. The L line, ISO 9141 and ISO/ DIS 14230-4
- 16. The battery power connection
Conclusion
Most OBD2 readers use standalone power but occasionally will need the use of the engines power (from the car’s OBD port).
Common question is: will it drain car battery if left unplugged? Answer is NO. Because most cars no longer send full power to OBD port when ignition is off.
Finally, the display is where you will retrieve your codes from that alert you problems within the vehicle. After you have familiarized yourself with the devise plug it in and run a couple tests to ensure it is working correctly.


how can buy toad software?